
Pack · #274 trending skills repo · ↗ +52 stars this week
Claude Blender Skills
mromidev/claude-blender-skills
Free Claude skills for realistic Blender animations: full workflows + the real scripts behind my YouTube videos
- Stars
- 61
- This week
- +52
- Forks
- 19
- Open issues
- 0
- Skills inside
- 3
Get started
Install the skills
npx skills add mromidev/claude-blender-skillsInstalls into Claude Code, Codex, Cursor, OpenCode and the other agents it finds on your machine.
git clone --depth 1 https://github.com/mromidev/claude-blender-skills.git /tmp/claude-blender-skills
cp -r /tmp/claude-blender-skills ~/.claude/skills/claude-blender-skillsClaude Code reads ~/.claude/skills/ (or .claude/skills/ in a project). Other agents read the same SKILL.md format from their own skills folder.
Inside this repo
3 skills
skills/blender-car-filmblender-filmMake a short, realistic cinematic shot in Blender with Claude, start to finish - storyboard, city layout, a physics-driven flight path, a chase camera, a hero that moves like the real thing, a realism pass, night lighting that actually reads as night, handheld camera shake, sound designed from the 3skills/blender-filmblender-forestMake an ultra-realistic 3D environment in Blender with Claude (a forest, a nature scene, a car driving through it) by following a long YouTube tutorial instead of writing a prompt - Claude watches the tutorial, writes the shot plan, checks the downloaded assets for anything unsafe, builds the world skills/blender-forestDocumentation
README
Claude Blender Skills
Free Claude skills that make realistic Blender animations. Each one is the complete workflow behind one of my YouTube videos, with the real scripts that made the shot. Install a skill, tell Claude your idea, and it plans, builds, lights, animates and renders the scene in your Blender. You don't need to watch the videos first.
| Skill | What it makes | Video |
|---|---|---|
blender-film |
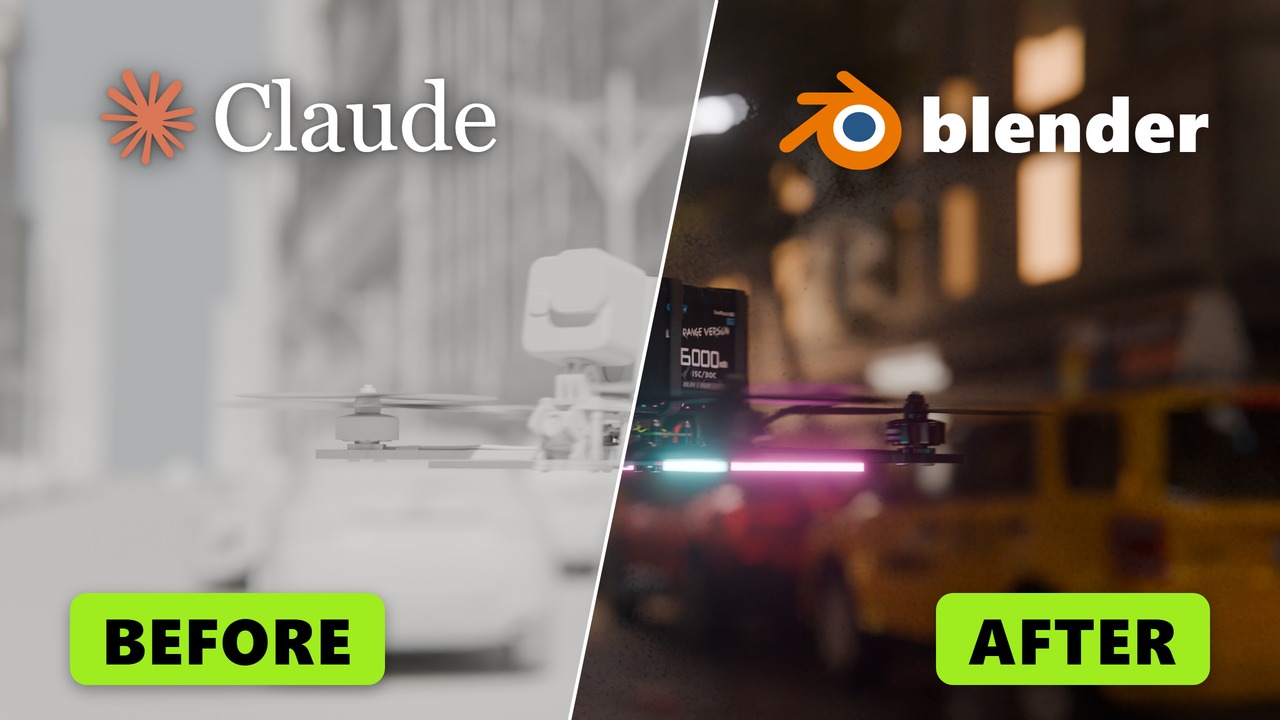
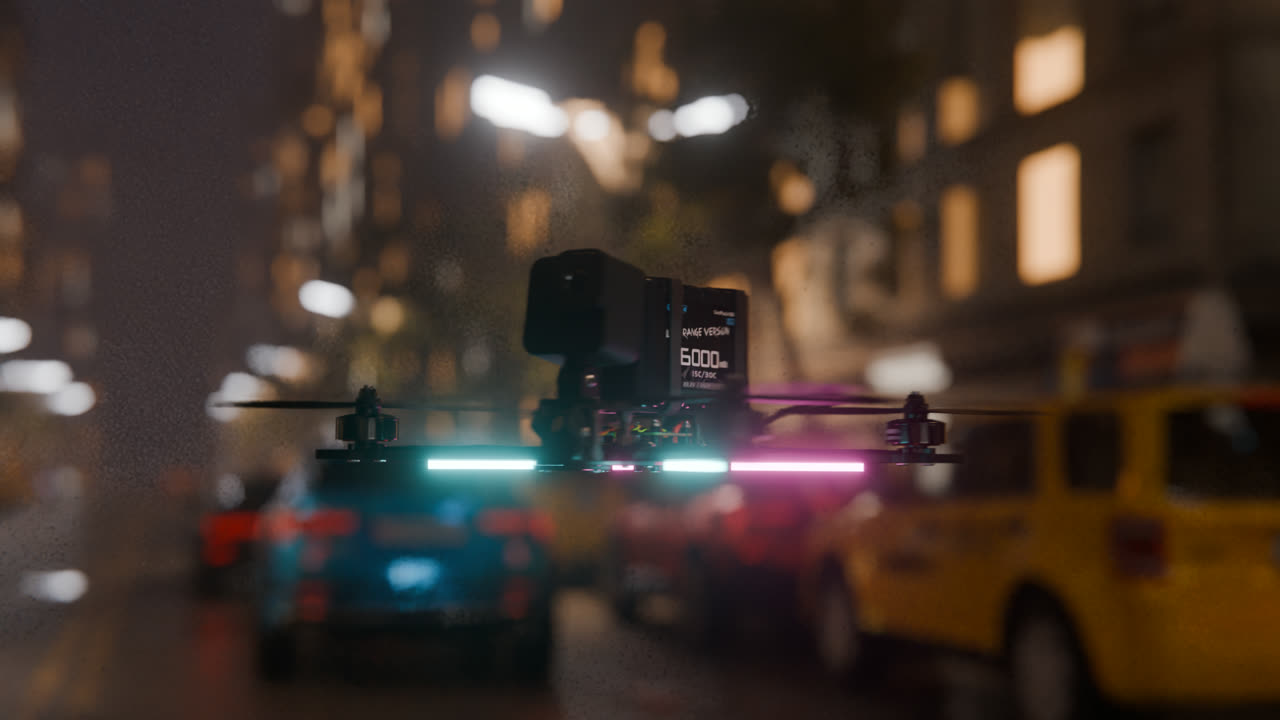
10 s night FPV drone shot through a city: storyboard, real physics path, night lighting, sound designed from the 3D motion, overnight render, white clay build-up reveal | How I Built This Insane Realistic Animation Using Claude in Blender |
blender-forest |
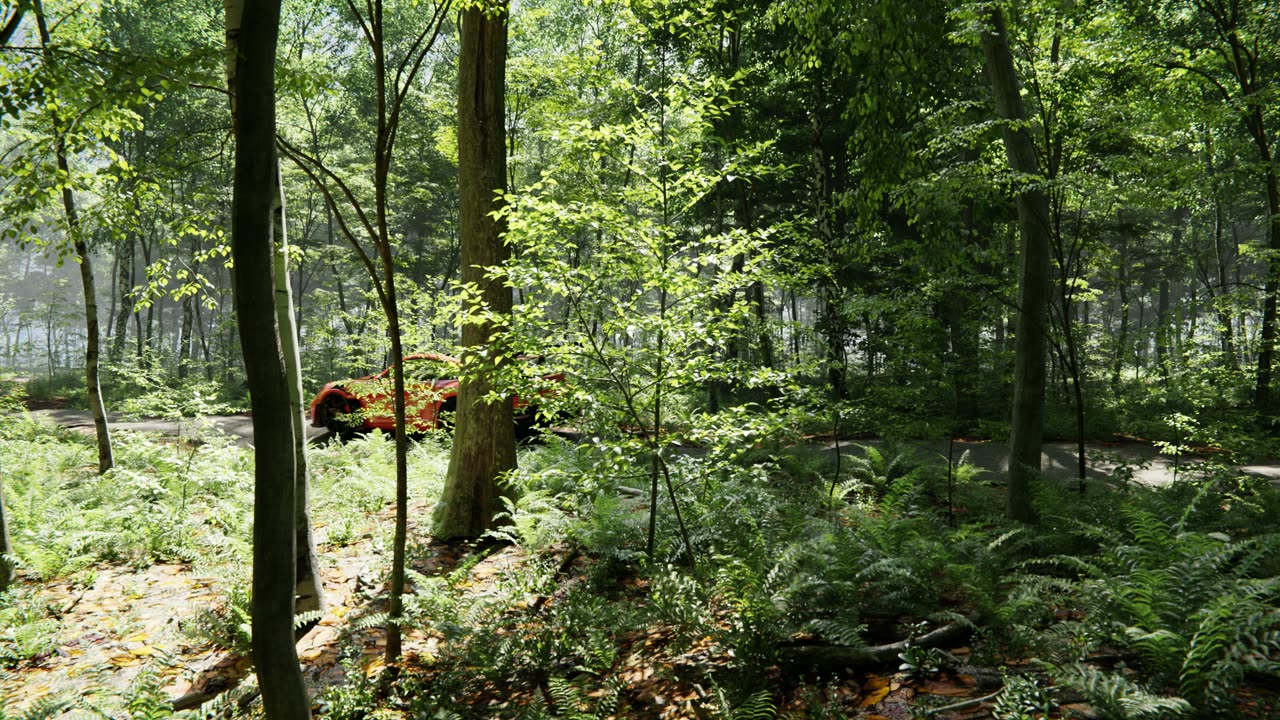
Ultra-realistic forest with a car driving through it, built by following a long tutorial: own scatter system, own car rig, render benchmark | How to Make an Ultra-Realistic 3D Environment Using Claude |
blender-car-film |
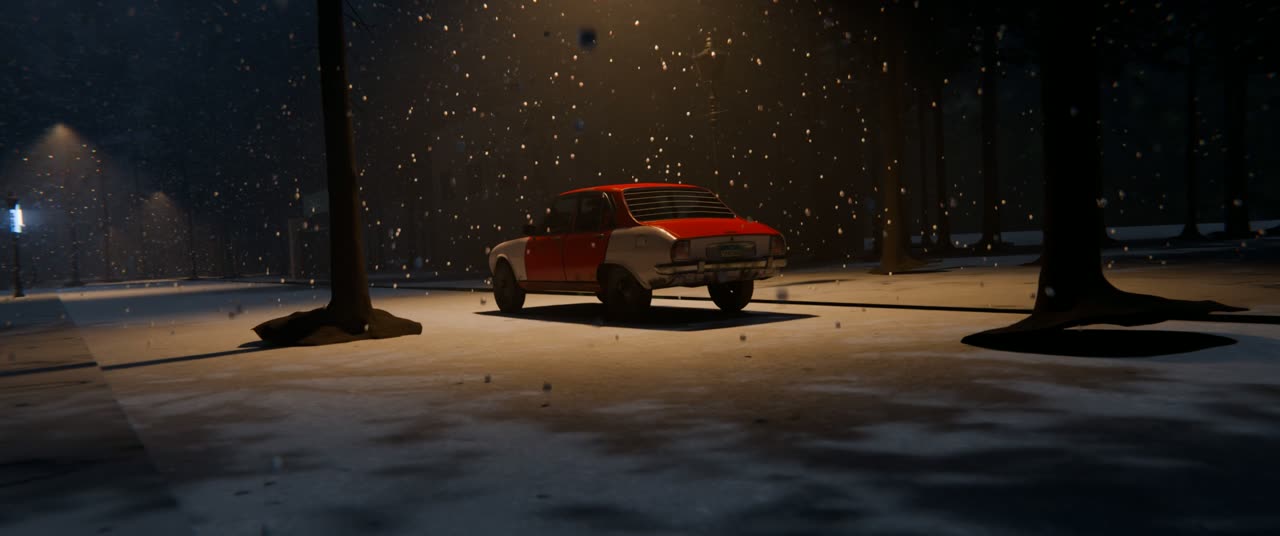
20 s cinematic story film on a snowy night: real car model, set built in Python, snow particles, 6 hand-held cameras, render from 5-8 h down to 1 h | How I Built This 3D Short Film With Claude in Blender |
Contents
- What you need
- Install
- Quick start: your first shot
- How Claude controls Blender
- The skills in detail
- Rules that make it look real
- Render without losing a night
- Safety
- FAQ
- Credits
What you need
- Claude. Claude Code works best, because Claude can run the scripts and look at the renders itself. The workflows also work in a normal Claude chat: Claude writes the scripts, you run them.
- Blender 4.4 or newer (everything was made on Blender 5.2), free from blender.org.
- A GPU for Cycles. All three films were rendered on one NVIDIA RTX 5070 (12 GB). Smaller GPUs work, renders just take longer.
- Python 3 and ffmpeg on your PATH.
numpyandscipyfor the physics and sound steps ofblender-film. - Your own assets: a city or environment pack you own, or free CC0 assets from Poly Haven. No paid add-ons are needed.
Install
Claude Code (recommended)
Windows (PowerShell):
git clone https://github.com/mromidev/claude-blender-skills.git
New-Item -ItemType Directory -Force "$HOME\.claude\skills" | Out-Null
Copy-Item -Recurse -Force claude-blender-skills\skills\* "$HOME\.claude\skills\"
macOS / Linux:
git clone https://github.com/mromidev/claude-blender-skills.git
mkdir -p ~/.claude/skills
cp -r claude-blender-skills/skills/* ~/.claude/skills/
Restart Claude Code. The skills load by themselves when you ask for "a cinematic Blender shot", "a realistic forest in Blender", "a short film in Blender", or any single step ("night lighting for my city", "a clay build-up reveal").
Claude app (claude.ai / desktop)
If your Claude app lets you add custom skills, zip one skill folder (for example skills/blender-film) and upload it there.
Any chat, no install
Open a skill's SKILL.md, copy all of it into a new Claude chat, then describe your idea. Add the scripts you need from that skill's
scripts/ folder when Claude asks for them.
Quick start: your first shot
Install the skills (above).
Make a project folder, for example
~/blender-film, and open Claude Code in it.Open Blender. In the Scripting tab, open
tools/bridge.pyfrom theblender-filmskill and press Run Script. Blender now listens on127.0.0.1:9876(only your own PC can reach it).Paste this into Claude Code:
Use the blender-film skill. My idea: [a drone flying through a canyon at sunset / a car chase at night / ...].
My assets: [what you have, or "free Poly Haven assets"]. Start with step 1: write the storyboard and wait for my approval.
Approve the storyboard, then let Claude go step by step. After each step it renders a small test still so you can check it. It asks before any long render.
How Claude controls Blender
Claude Code  --python tools/send.py script.py-->  bridge.py inside your open Blender (127.0.0.1:9876)
     ^                                                         |
     +---------------- output, errors, test renders <----------+
tools/bridge.pyruns inside Blender and executes the Python it receives on Blender's main thread.tools/send.pysends a script file (python tools/send.py scripts/06_night.py) or one line (python tools/send.py -c "print(bpy.data.filepath)") and prints what came back.- You watch every change happen in your own Blender window. Long renders run in background Blender (
blender -b) from a saved file.
The skills in detail
blender-film: night FPV drone shot
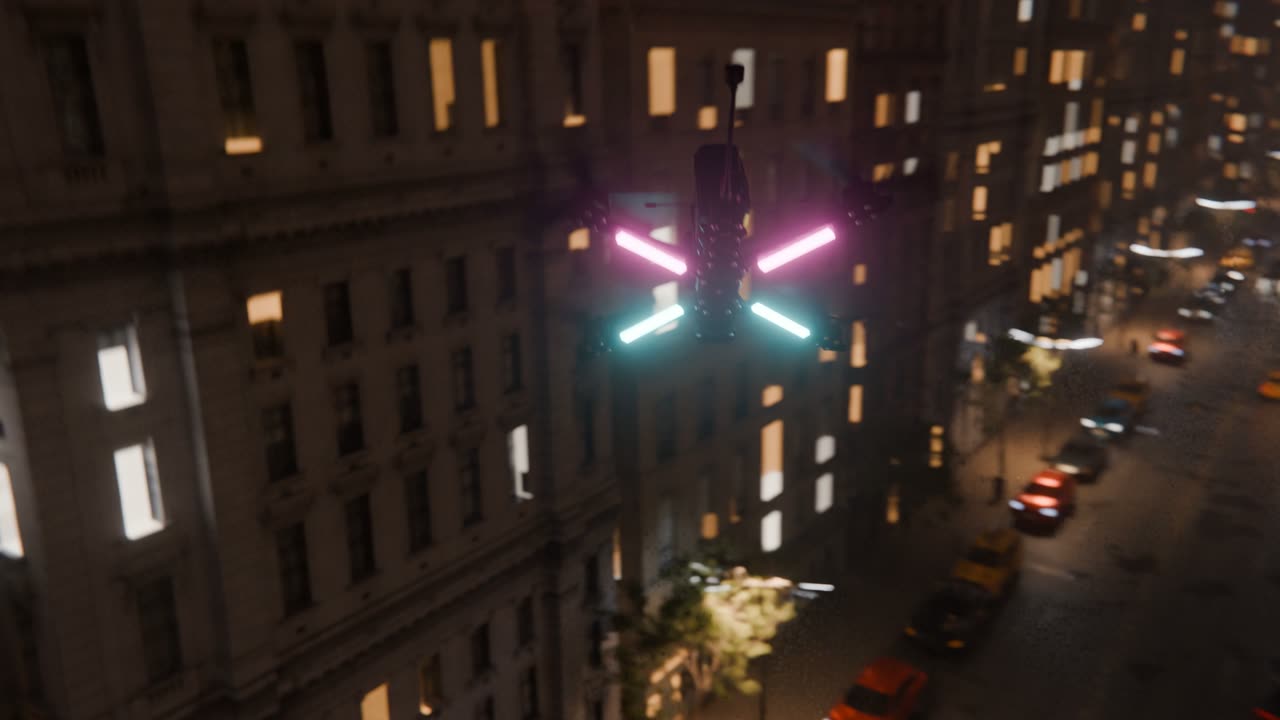
- Storyboard first. A 10-second shot list with timings, camera per shot, where the hero is. Turned into one image sheet.
- City. 5 buildings from an asset pack copied, stretched and recoloured into 173 instances. Cars, lamps, trees, hydrants.
- Motion from physics. A point-mass simulation (24 fps, 1/480 s steps, gravity, quadratic air drag, ropes that can't stretch) searches the anchor timings until the path threads the street. Path curve + empty on Follow Path, offset keyed every frame.
- Hero and the pivot. The first hero was a rigged Spider-Man with Mixamo motion capture. It looked stiff, because mocap is recorded on the ground. Swapped for an FPV drone on the same path: thrust axis = acceleration + gravity, nose along the velocity, throttle cuts where the path is ballistic, power flip, barrel roll, back flip, braking flare into a hover.
- Realism pass. AgX exposure, thin haze, asphalt wear, oil drip line, repair patches, dirt at the foot of every wall.
- Night. Practical lights only. Windows found from the facade roughness map (glass is smooth):
roughness < 0.3= glass, then a random subset lit warm, cool or off. LED street lamps at 3200 K, car lights, red signals, blue fog, wet asphalt. - Camera. Camera Shakify (real recorded shake) on every camera, a street-level lens 0.45 m above the wet road, bloom and slight barrel distortion, no colour grade.
- Sound from the motion. The animation is read every frame (distance, radial speed, side, throttle). Throttle drives motor pitch, radial speed drives Doppler, side drives the pan, cars pass at their closest approach, street-canyon reverb. -14 LUFS.
- Render. Tree LODs and hidden duplicates removed, six final-quality test stills first, only the frames of the edit rendered, resumable, with a progress panel. About 3.5 hours overnight. Then every frame is checked.
- Clay build-up. The whole city in white clay drops from the sky piece by piece (507 pieces, 7 s), then one wipe to night.
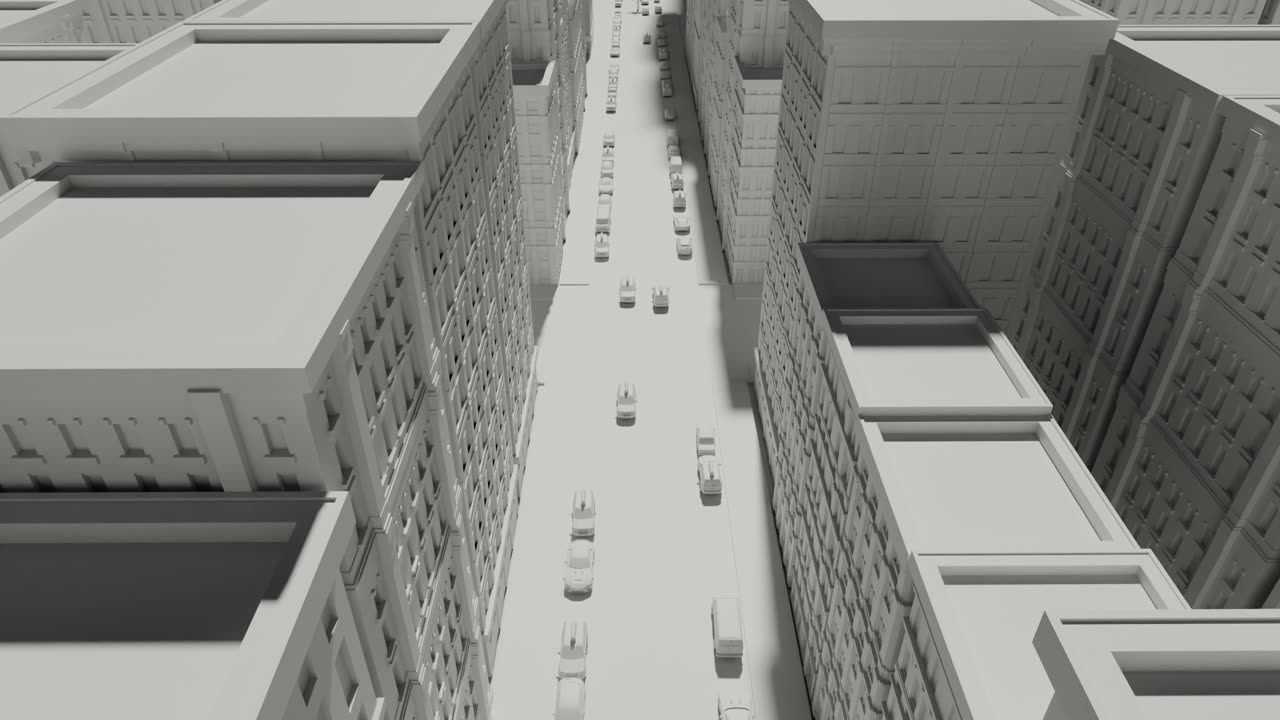
Full step list and all 20 scripts: skills/blender-film.
blender-forest: realistic environment from a tutorial
- Give Claude a long tutorial (1 h+, free assets) instead of a prompt: "We are going to recreate his scene exactly."
- Claude reads the transcript, captures the reference frames, writes
PLAN.mdwith every shot and stage. - Every downloaded asset is checked: virus scan, archive listing,
.blendfiles opened with--disable-autoexecand audited. - The world is built in stages: terrain + HDRI world, our own Geometry Nodes scatter (560k-730k instances, replaces a paid add-on), gravel path, then a test still next to the reference after every stage.
- Our own car rig (wheels spin with distance, front wheels steer, body bounce) instead of a rig add-on.
- A sub-agent measures each reference shot (height, lens, fisheye, speed, cuts); cameras are built from those numbers.
- Render benchmark: 128 samples + denoise = same look as 256 samples, 51 s -> 28 s a frame. 390 frames at 2560x1440 in about 3 hours.
Full steps and scripts: skills/blender-forest.
blender-car-film: 20-second story film
- Storyboard: 6 shots, no people, every shot with camera move, timing and key sound.
- Real car model (CC BY), Poly Haven trees and props; road, snow banks, school, hospital and house built by Claude in Python.
- 17 numbered scripts sent live into Blender through the bridge: world, car, rig, set, house, animation, snow and fog, cameras, fixes, render settings, grade, 30 fps.
- Render from a 5-8 hour estimate to about 1 hour: adaptive sampling + OptiX denoise, fewer bounces, snow particles baked to disk (158 s -> 6 s a frame), culling. A resumable render queue with a progress window.
Full steps and scripts: skills/blender-car-film.
Rules that make it look real
- Storyboard before Blender. Every later decision gets checked against it.
- Real assets, not generated ones. Claude is great at code, cameras, physics and render settings. Let downloaded models and real recorded sounds do the rest.
- Motion from physics, not hand-keyed curves. Real speed, real gravity, real braking.
- At night, practical lights light the scene, not the sky.
- Tiny imperfections: dirt at wall bases, worn road paint, oil lines, haze, real camera shake.
- No colour grade by default. The look comes from the lighting. Grade only a shot that needs it.
- If the hero looks wrong, change the hero. Keep the city, path and cameras.
- Test small, render big. Low-quality stills after every step, final quality only at the end.
Render without losing a night
- Render only the frames the edit uses, as a PNG sequence, so a crash or power cut loses one frame at most.
- Every render script is resumable: run it again and it continues where it stopped.
- Benchmark first. Denoising often lets you halve the samples with no visible difference.
- Bake particle and physics caches to disk before the final render.
- Persistent data keeps a heavy scene in GPU memory between frames.
- A progress window shows frames done and time left; the stay-awake scripts keep Windows awake without changing any settings.
- After the render, check that every frame exists and none is black or broken before you encode.
Safety
- The scripts here are plain Python, PowerShell and shell scripts. Read them before you run them, or ask Claude to explain them.
- The bridge only listens on
127.0.0.1(your own PC). Stop it by closing Blender. - Open any
.blendyou download with--disable-autoexecfirst, and check it for embedded scripts. - Scripts that call ElevenLabs read your key from the
ELEVENLABS_API_KEYenvironment variable. No keys are stored in this repo.
FAQ
Do I need the same assets? No. Object and material names in the scripts come from the original scenes. Tell Claude what you have and it adapts the scripts.
Mac or Linux? The Blender and Python parts work everywhere. The .ps1 and .cmd helpers are Windows-only. Ask Claude for the
shell version.
No NVIDIA GPU? Use Cycles with your GPU's backend (Metal, HIP) or EEVEE for previews. Renders take longer.
How much Claude usage does it take? The 20-second car film used about 20% of a weekly Claude limit.
Can I use this for my own videos? Yes, MIT license. A credit or a link back is appreciated.
Credits
Assets and references used in the original films (not included in this repo):
- City and Spider-Man asset pack: Peter France
- Clay build-up idea: Abrar Ahmed ("CINEMATIC CITY")
- Realism and night lighting references: Extra 3d, Enhanced Sight
- Forest tutorial and assets: roe.num77 ("Blender Hyper-Realistic Forest Tutorial")
- Animations: Mixamo (Adobe)
- Models: BlendKit, Poly Haven (CC0), "Peugeot 504" by 3d_engineer (Sketchfab, CC BY 4.0)
- Sound: BigSoundBank.com (CC0), ElevenLabs
- Camera shake: Camera Shakify add-on
Spider-Man is a Marvel character. The Spider-Man part was non-commercial fan art; no Marvel assets are in this repo.
Author
Made by Mr omi with Claude. YouTube: Mr omi · Instagram: @mromi.ai · Business: contact@mromi.dev
License: MIT